

How to Setup C++ Environment in Win/Mac for Newbies (Part-1)
Part-1 of the series "C++ for Newbies in just 7 articles"

This article is a part of the series "C++ for Newbies in just 7 articles", If you like this article, do check out my other articles in the series where I cover the basic C++ fundamentals required for anyone to start competitive programming or Data Structures and Algorithms.
Step 1: Pick an IDE
This is the most difficult part in any programmers entire development journey & you can get stuck in forever loop arguing which development tool is best.
Well, you get multiple options to choose from like Codeblock, Clion, Eclipse etc.
Don't waste your time choosing which one to download.
Just head over to VScode and download it. (Trust me, I have been there)

Step 2: Install Vscode.
Here is the Link

Step 3: Download and install a C++ compiler
Again there are multiple compilers you can choose from, just don't waste your time researching all that and head over to MinGW.
Head over to link and Install Mingw, it is a compilation tool for application development on windows, to Read more about it, check the link below.
MinGW, a contraction of "Minimalist GNU for Windows", is a minimalist development environment for native Microsoft Windows applications.
- After downloading, install MinGW and wait for the “MinGW Installation Manager” to show up.
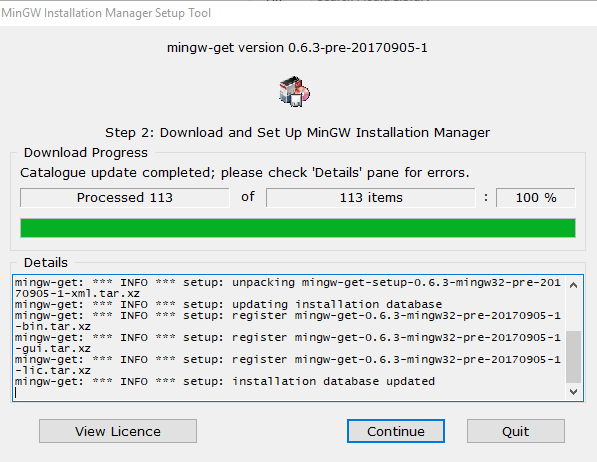
- When the “MinGW Installation Manager” shows up, click on
mingw32-gcc-g++then select “Mark for Installation”

- In the menu at the top left corner, click on “Installation > Apply Changes”

- Wait and allow to install completely. Ensure you have a stable internet connection during this process.
To Read more on What/WTF of Mingw Read here
Step 4: Install Code Runner in VSCode
 Open VSCode go to Extension's Section in the Sidebar and install Code Runner
or You can install it from the link
Open VSCode go to Extension's Section in the Sidebar and install Code Runner
or You can install it from the link
After installing Code Runner, Restart VScode (Close and Reopen VSCode)
Step 5: Test Test Test
Open a New File and name it Test.cpp & copy-paste the following Code.
Press Ctrl + Atl + N to run the following snippets.
#include <iostream>
using namespace std;
int main()
{
    cout << "Hello world!";
    return 0;
}
- Use the shortcut
Ctrl+Alt+Norctrl + option + N(Mac) - Or press F1 and then select/type Run Code
- Or right-click the Text Editor and then click Run Code in the editor context menu
The code will run and the output will be shown in the Output Window. Open the output window with `ctrl + `` shortcut.

Step 6: Some Config Changes
VScode Output Tab by Default is just Read only, that is you wont be able to write the inputs to the program.
To modify this setting in VScode.
Click cmd + shift + P (Mac) or ctrl + shift + P and search for setting.json
Open setting.json and paste the following code in the file. (Probably, you wont understand why you are doing this, but trust me and go ahead).
In that case,
"code-runner.runInTerminal": true
and the file must look like this.
P.S Don't forget to add a comma before Newline (Line 61)

Save it and close the file.
Conclusion
Now, if everything went right you should be able to run the following code snippet to calculate area of a circle.
#include <iostream>
using namespace std;

const double pi = 3.14159;

void calculate()
{
  double area;
  double radius;

  cout<<"Enter Radius: "<<endl;
  cin>>radius;

  area = pi * radius * radius;

  cout<<"area is: "<<area<<endl;
 }

int main()
{
  calculate();
  return 0;
}
Repeat Steps in Step 5 to run this program again and enter the Radius in the terminal of VScode.
 Read the Next article on the Basic C++ for Newbies.
If you couldn't Run C++ using the above steps, feel free to drop a comment and i will be happy to Debug with you.
Or Most probably, Same issue must have been faced by some other user, so do check out Stackoverflow for quick debugging (Trust me, All Issues you might face have been documented there 😉)